Case Study: Diagnostic Discovery and Grout Integrity
Part 1: The Initial Assessment
This project began as a standard request to address missing and damaged grout at the critical junction where the shower floor meets the walls. I receive many calls for this specific issue, as it is a common failure point in residential showers. After the client submitted photos for my review, we discussed the shower’s dimensions and the specific areas of concern. Based on that information, I recommended my signature 6-step restoration process, which the client agreed to move forward with.
Part 2: On-Site Discovery
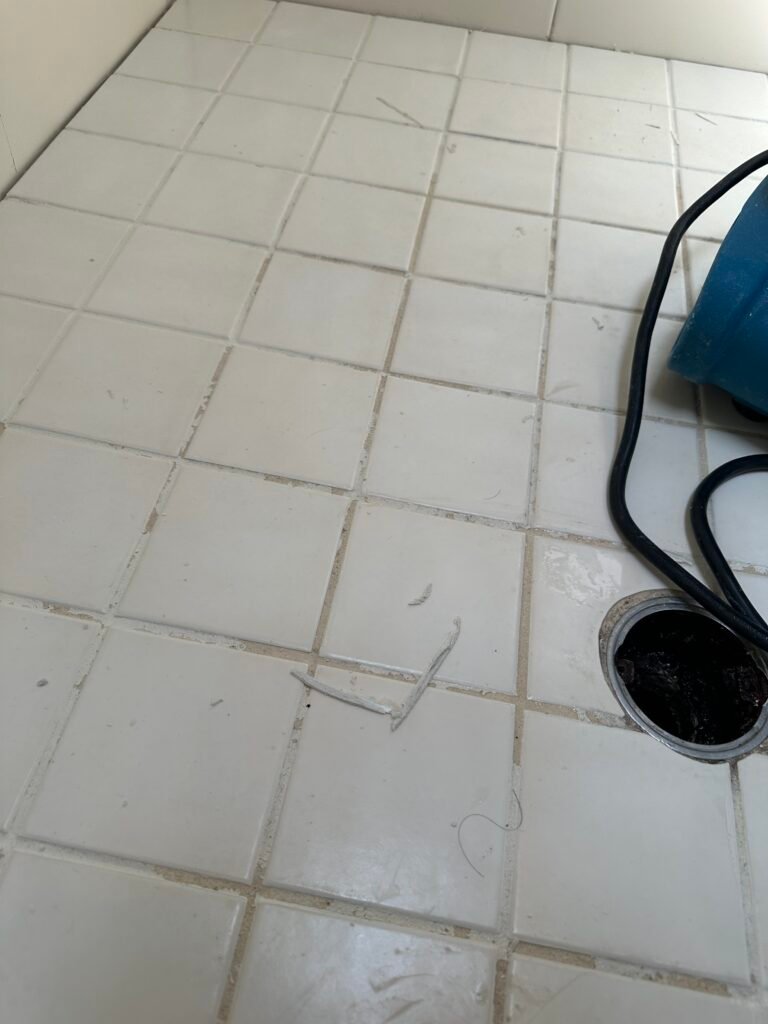
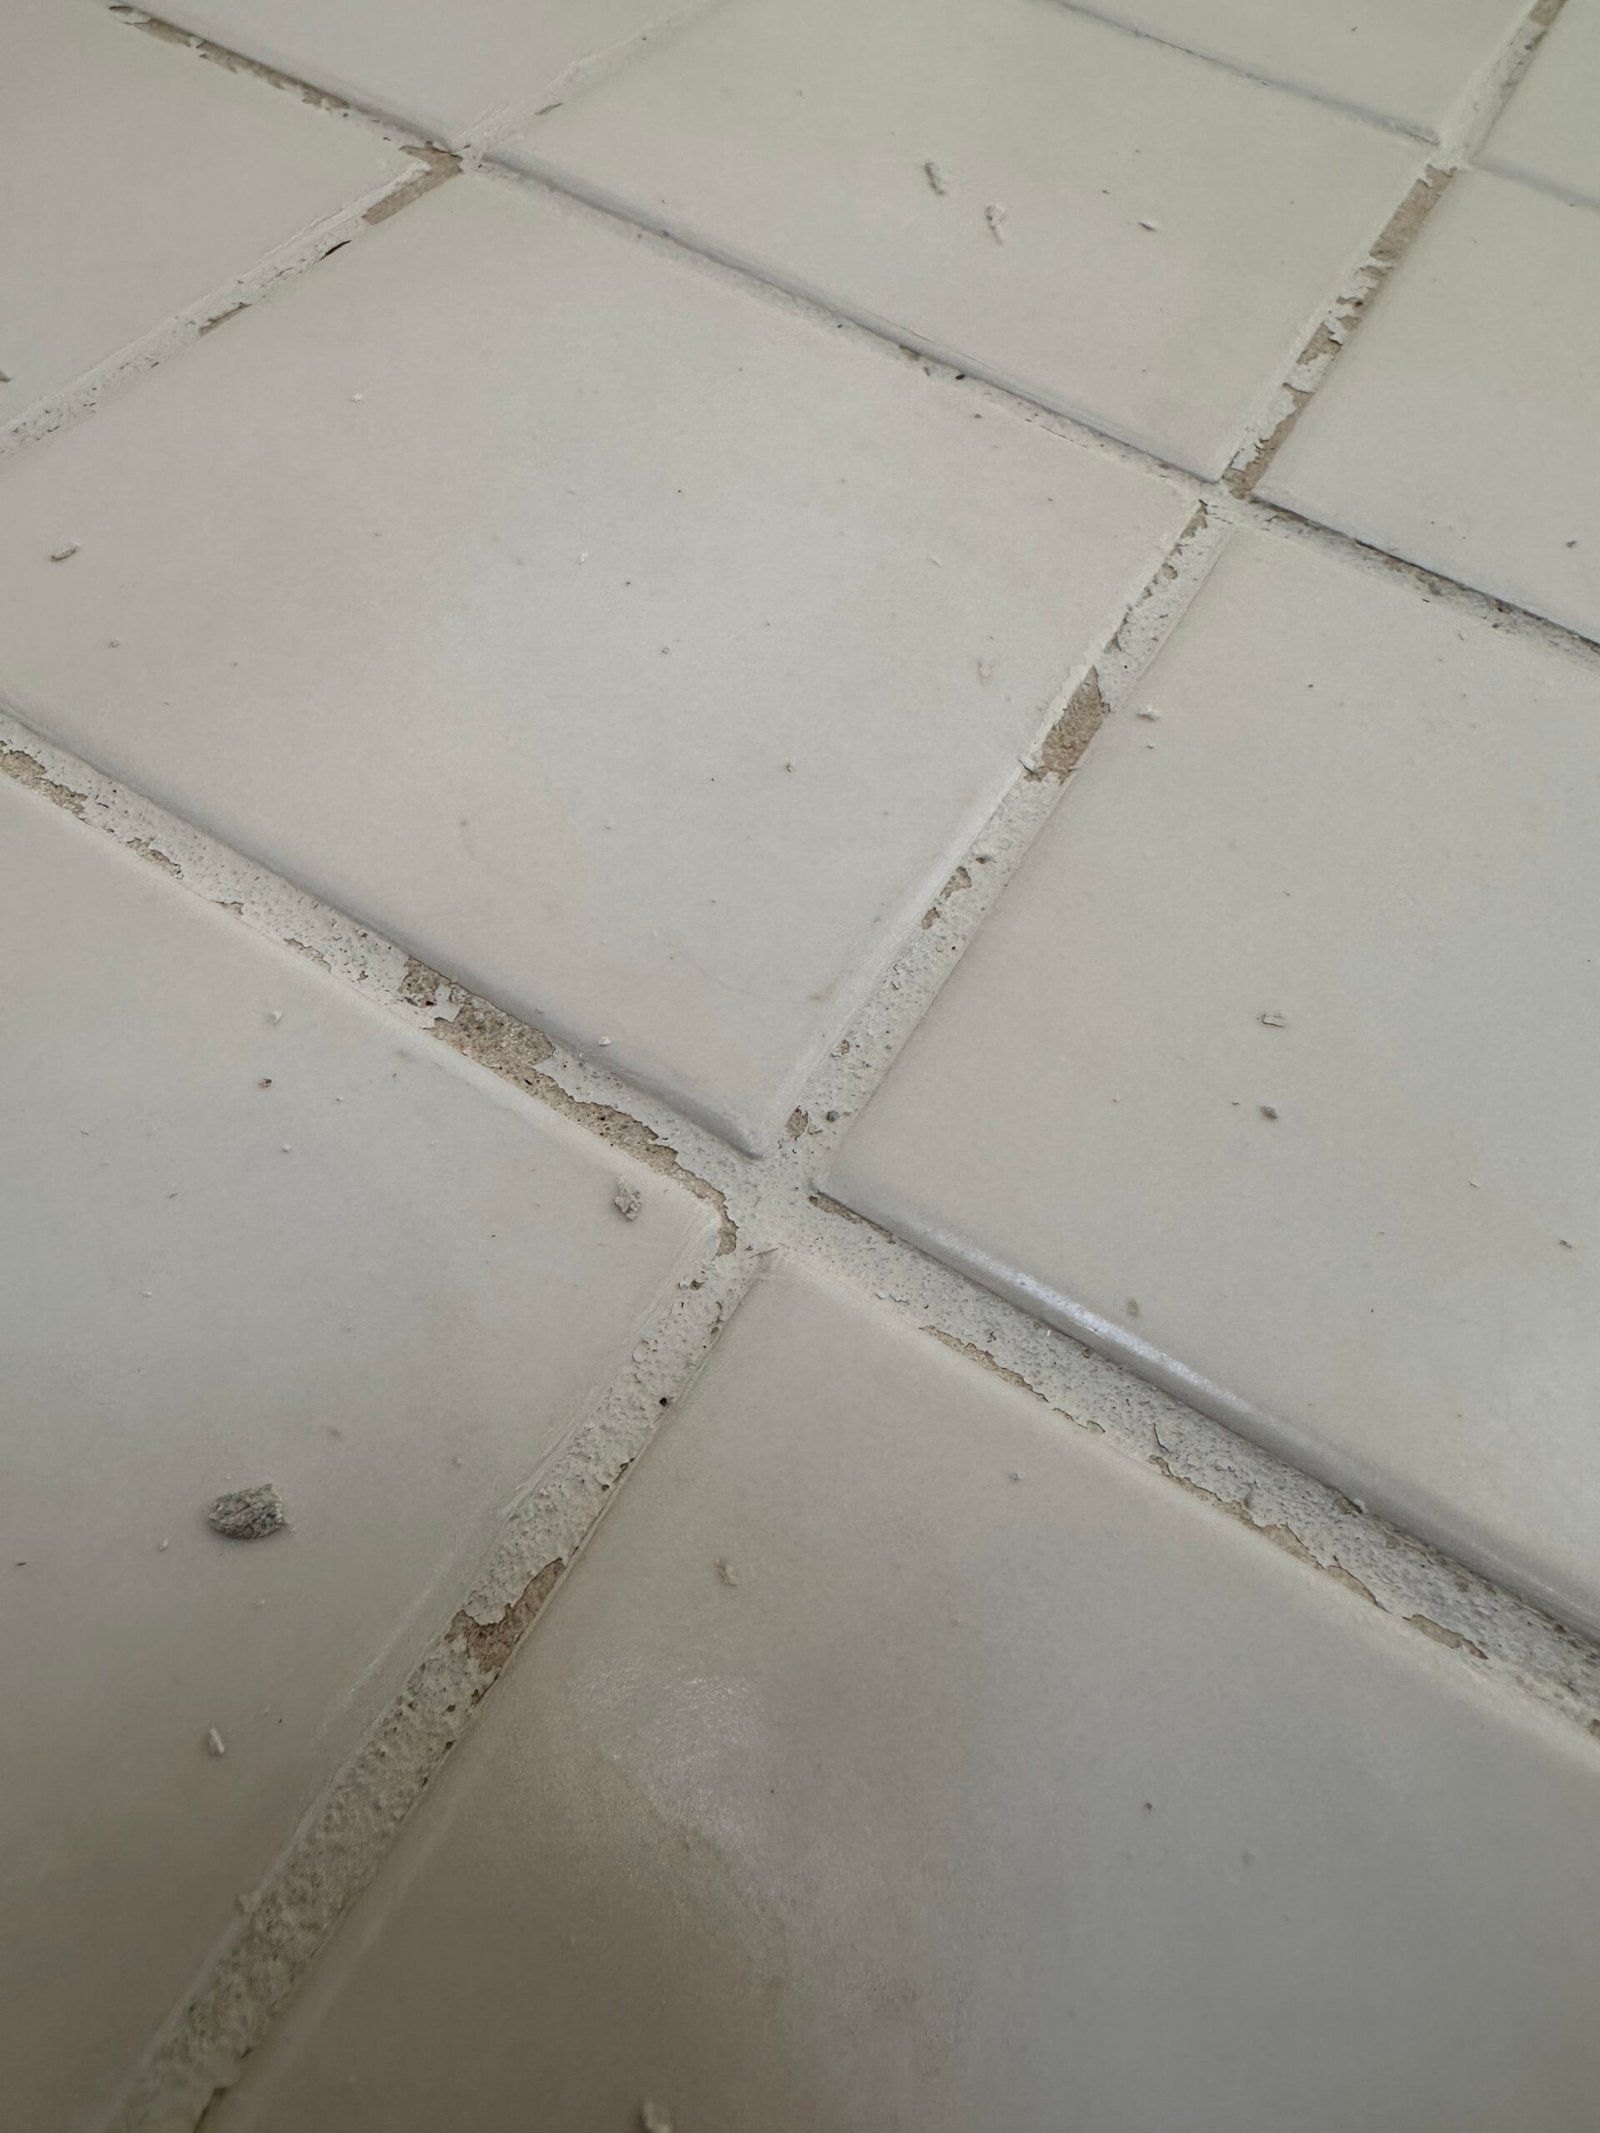
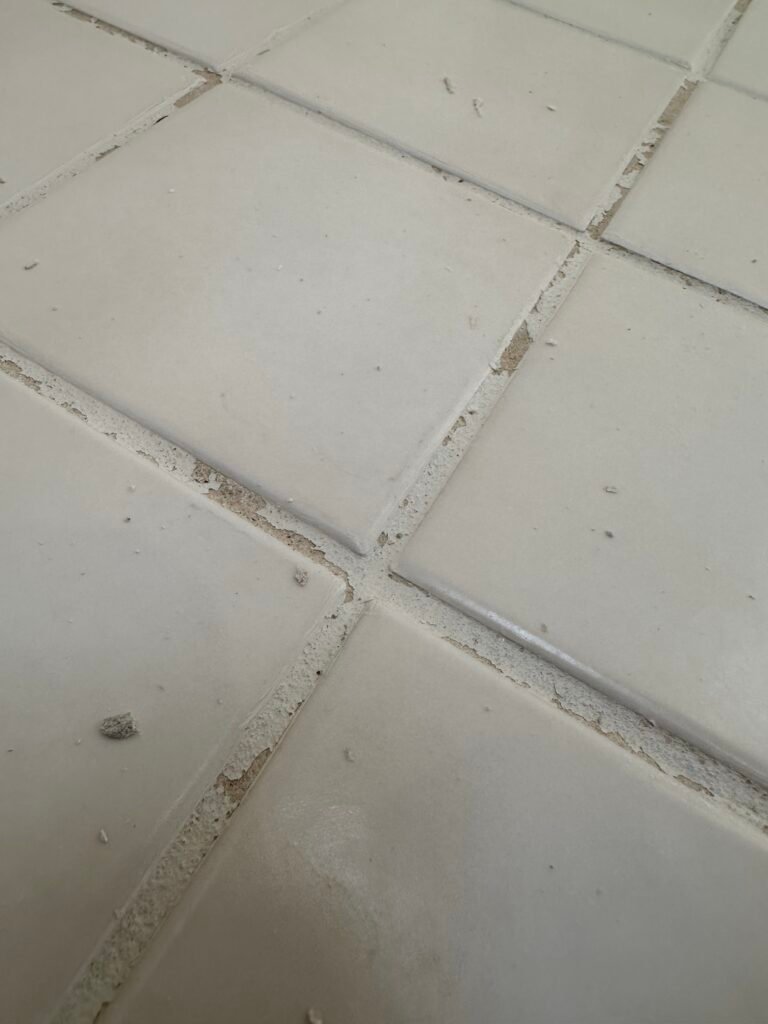
When I arrived at the job site, I began with my standard before-video. At that stage, the shower floor grout appeared merely dirty, so I didn’t think much of it—cleaning the floor is one of the final stages of my process. However, well into the day, when I finally got down on my hands and knees to begin the mechanical scrubbing, I noticed something concerning: the colorant began peeling up. Upon closer inspection, I realized that a significant portion of the floor’s grout was missing underneath a layer of applied colorant. This is a common “shortcut” often used by homeowners looking to freshen up a shower before putting a house on the market, but it is rarely a long-term solution.
Part 3: The Science of Failure—Why Grout Colorant Isn’t a Shower Solution
When homeowners ask me why their shower floor looks “patchy” or why their grout colorant is peeling, the answer comes down to the environment. Grout colorants—essentially pigmented topical coatings—are designed for dry-area floors where moisture exposure is fleeting. In a shower, the environment is fundamentally different.
The Physics of the Failure
Inside a shower, gravity and saturation create a perfect storm for topical products. Prolonged exposure to standing water tests the integrity of any topical bond. All it takes is a microscopic pinhole or a tiny void between the colorant and the porous cement grout for water to force its way in. Once moisture bypasses that surface layer, hydrostatic pressure causes the colorant to lift and bubble, leading to the peeling, flaking mess I frequently encounter.
The “Warranty Gap”
The most telling sign that grout colorant is an unsuitable solution for shower floors is found in the warranties offered by the companies that sell it. Typically, contractors who apply these topical colorants provide a one-year warranty, if they offer one at all. They know the statistics: once the shower is back in daily use, the combination of soap, warm water, and friction will compromise the bond. That one-year timeline is essentially a “wait-and-see” window before the failure becomes the homeowner’s problem.
The Epoxy Advantage: Bonding vs. Coating
I take a different approach. When I perform an epoxy grout repair or skim-coat, I back my work with a five-year workmanship warranty. Unlike colorant, which sits on top of the grout, 100% epoxy grout acts as an adhesive. It bonds at a molecular level to a properly cleaned and etched cement surface, meaning it doesn’t “peel.” By replacing the “lipstick-on-a-pig” paint method with a true epoxy resin, I am providing my clients with a finish that is actually designed to live in a wet environment. Offering a five-year guarantee is my way of standing behind the building science—if the product and the prep-work are both done to the highest professional standard, it shouldn’t need a touch-up in twelve months.
Part 4: The Consultant’s Choice—Honesty Over Upselling
In this particular case, after I walked the client through the findings and presented the options for an epoxy skim coat, the client chose to move forward with the original restoration plan as agreed. It is important to understand that a professional diagnostic process isn’t just about selling more work—it’s about providing the information the homeowner needs to make an informed choice. Because the peeling colorant was primarily a cosmetic issue and not a structural threat to the shower’s waterproofing, the client decided to hold off on the additional cosmetic repair.
I respected that decision. My role is to perform the 6-step restoration we agreed upon to the highest standard, and that is exactly what I did. I completed the deep cleaning, the perimeter silicone replacement, and the structural inspections as originally proposed. My commitment to a job isn’t just about the invoice; it’s about ensuring the client has a full understanding of their shower’s health. Whether a client chooses a full epoxy transformation or opts to maintain their current finish, they can rest easy knowing that the “no-BS” diagnostic work was done, the underlying structure was inspected, and the job was completed with the same level of care and detail that I bring to every project. That is the Grout Repair Pro standard.
Part 5: The Handover—Structural Insights and Long-Term Care
Once the restoration was complete, I brought the client in for the final walkthrough. This is an essential part of my process; it’s when I answer questions and share my observations from behind the scenes.
Proactive Structural Awareness
With over 35 years of experience picking apart almost every type of shower installation, I’ve learned to spot things that aren’t immediately obvious. In this case, while the client was aware of some horizontal structural cracks on the back wall, my inspection revealed identical cracks on the opposite wall at the same three-foot elevation. I identified these as likely signs of house settling or potential issues with the original tile underlayment, which places excessive stress on the tile. Since the tile used was a ceramic base—a material that isn’t particularly strong—it tends to crack under this kind of pressure. I reassured the client that while tile is purely cosmetic and not structural, these cracks are something to monitor. Providing this context doesn’t just add value; it gives the homeowner peace of mind.
The Grout Repair Pro Maintenance Guide
Before leaving, I handed the client my custom maintenance guide, which is included on the back of every work order. This isn’t just a generic sheet; it’s a tailored roadmap that lists the specific grout cleaners, mold removers, glass sealers, and the exact type of grout brush I recommend to keep their shower in peak condition. By the time I head home, the client has a clean, restored shower, a professional assessment of their wall integrity, and a clear plan to maintain the results. Finally, I ask for a review. I’ve found that when a client is truly floored by the transformation—and empowered by the knowledge of how to protect their investment—they are usually happy to share that experience with others. It’s the final step in a job well done.