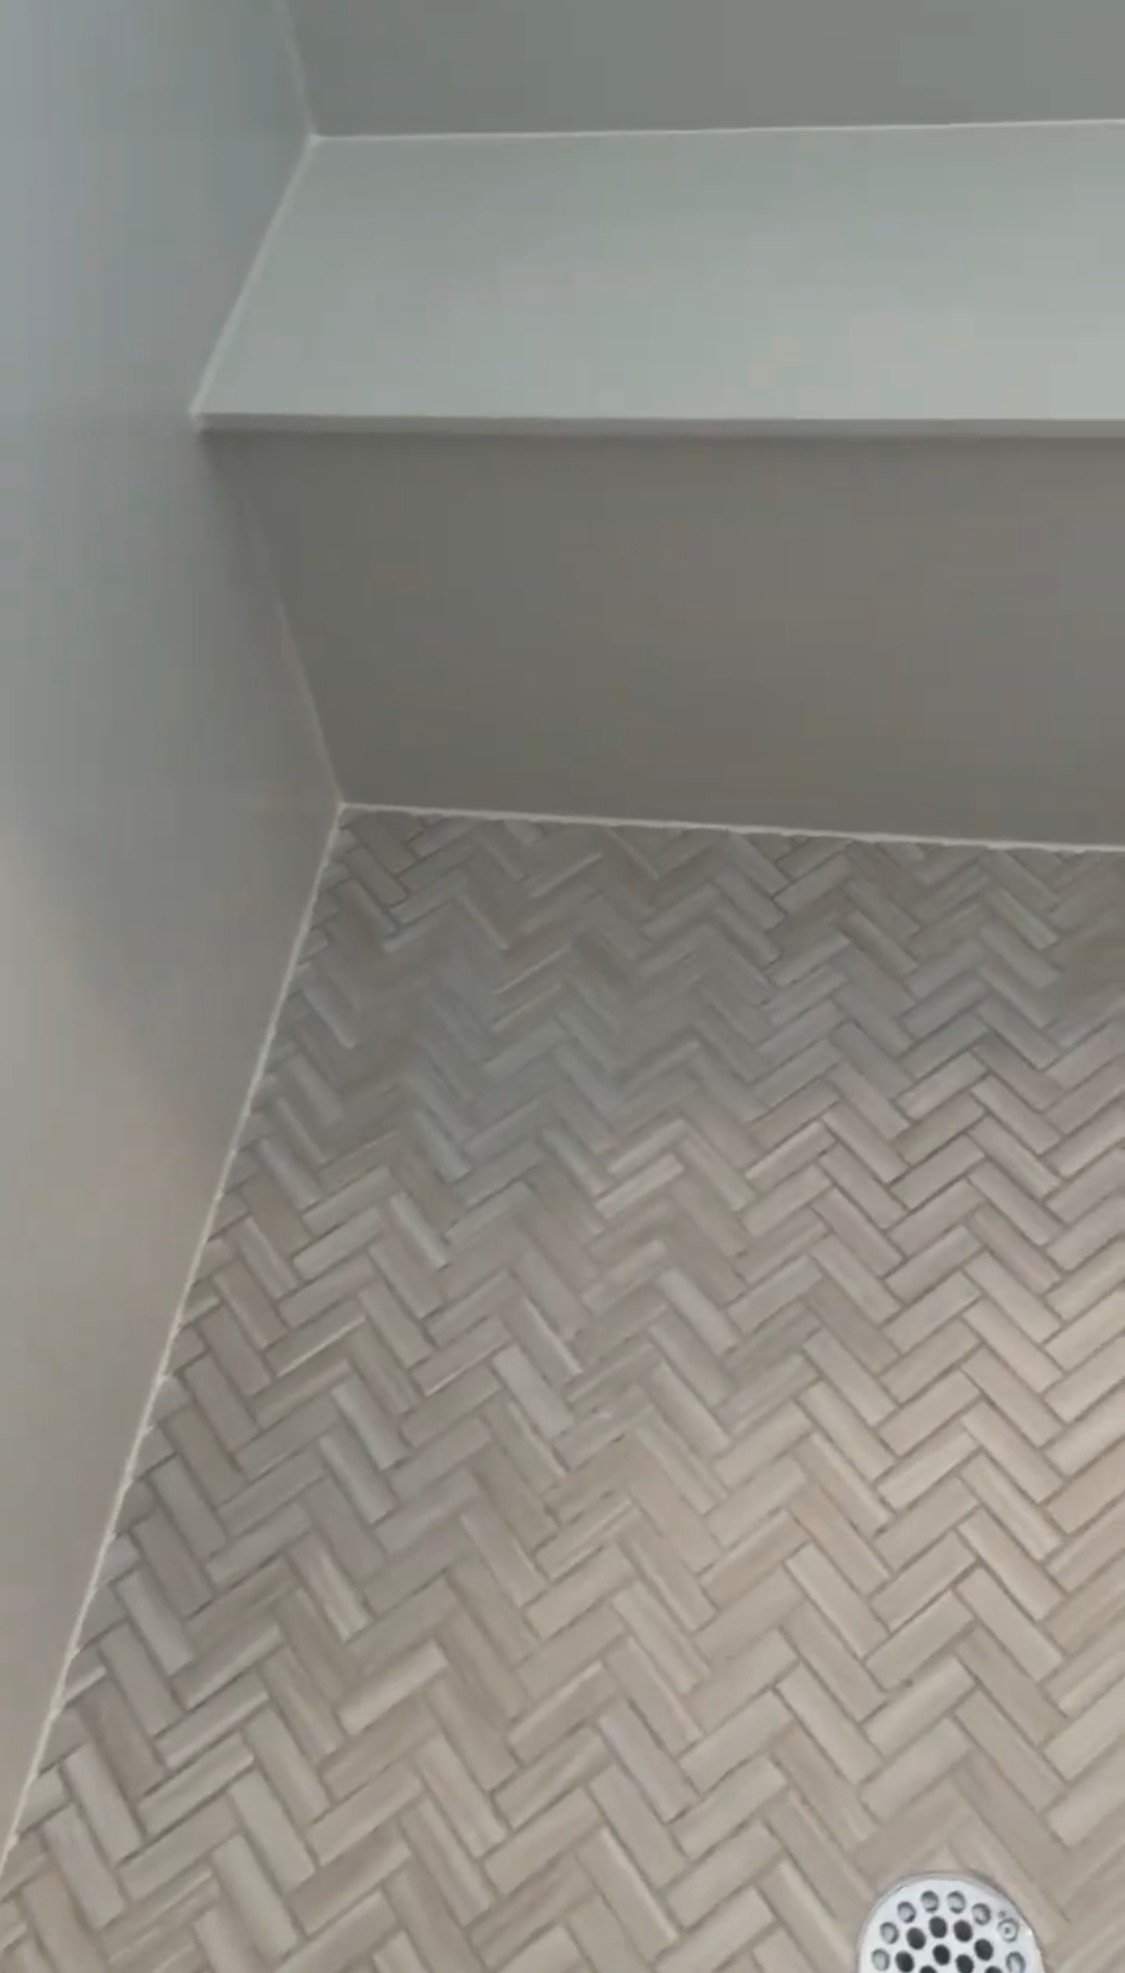
Why Failing Silicone in a Piedrafina Shower is a Hidden Disaster (and How We Fix It)
When it comes to modern shower design, engineered stone slabs like Piedrafina are an excellent choice. Because they come in large, continuous panels, you get a beautiful, high-end look with a massive advantage: no grout lines on the walls, and seams only in the corners.
But while solid surface slabs eliminate 95% of traditional shower seams, that remaining 5% is a critical vulnerability. If the silicone in those corners fails, you have a major problem hiding right out of sight.
The Hidden Danger Behind the Slab
In a perfect world, every contractor would completely waterproof the walls behind a slab before installing it. In reality? It is not always standard practice. Many installers apply slab panels directly over standard drywall.
- Drywall is a Paper Product: Drywall is made of paper and gypsum. Paper loves to absorb water.
- The Structural Threat: Drywall is fastened directly to wood studs.
- The Breach: If there is even a tiny pinhole, void, or crack in your corner silicone, water will get behind that Piedrafina panel.
Once water gets back there, it immediately starts attacking the drywall and transferring moisture straight into the wood framing. Because the slab hides the wall, you won’t see the wood rotting or the mold growing until the structural damage is already severe. This risk is highest down low, right where the shower floor meets the walls, where water pools and sits constantly.
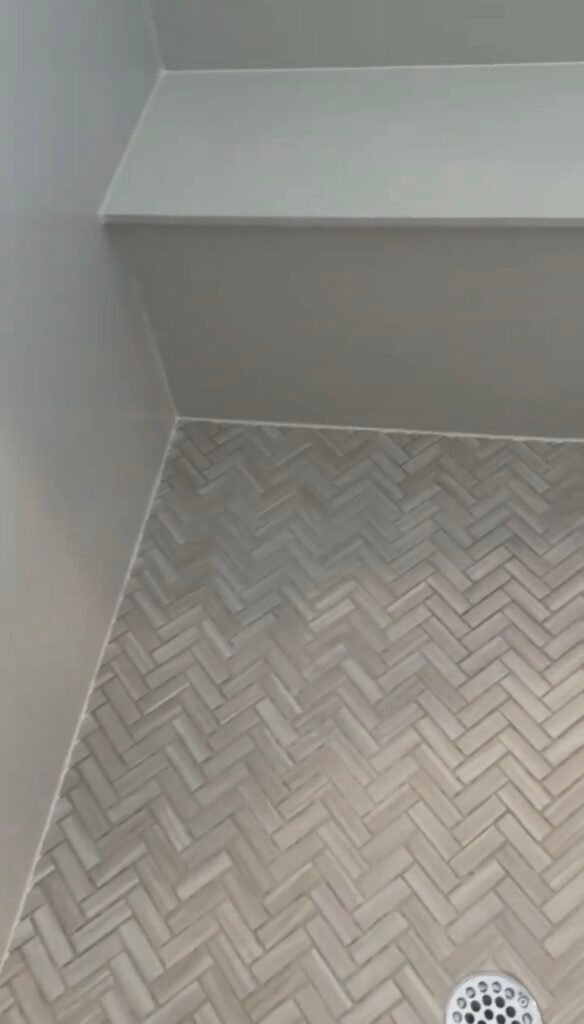
Check out the final, flawless results of our specialized resealing process in this quick video overview:
Our 7-Step Restoration & Silicone Replacement Process
You cannot just squirt new silicone over a failing joint and call it a day. If the surface isn’t completely decontaminated and bone-dry, the new silicone won’t bond, and it will fail within months.
Before a single drop of new silicone touches the shower, it undergoes our strict, professional protocol:
Step 1: Complete Mold Removal
We begin by treating and eradicating mold throughout the entire shower enclosure to ensure we are working on a healthy, sanitary surface.
Step 2: Glass & Frame Detailing
Next, we clean and polish the shower glass to remove stubborn hard water spots and completely detail the metal frame, restoring its original clarity.
Step 3: Mechanical Soap Scum Removal (The Razor Test)
This is where standard DIY methods fail. There is no chemical cleaner on the market that can genuinely dissolve heavy soap scum. The only way to truly remove it is mechanical. We use a brand-new razor blade to meticulously scrape the Piedrafina walls and floor, checking every inch for hidden deposits—especially down low near the floor.
Step 4: Heavy-Duty Final Wash
Only after the heavy soap scum has been physically shaved off with the razor blade do we introduce our heavy-duty cleaners. This final wash removes any microscopic residue, leaving the engineered stone perfectly clean.
Step 5: High-Powered Forced Drying
Silicone will absolutely not stick to water. Even if a surface looks dry on the outside, moisture remains trapped deep inside the corner seams. We deploy heavy-duty air-moving machines and let them run for an extended period, thoroughly extracting all moisture from the joints before proceeding.
Step 6: Meticulous 100% Silicone Application
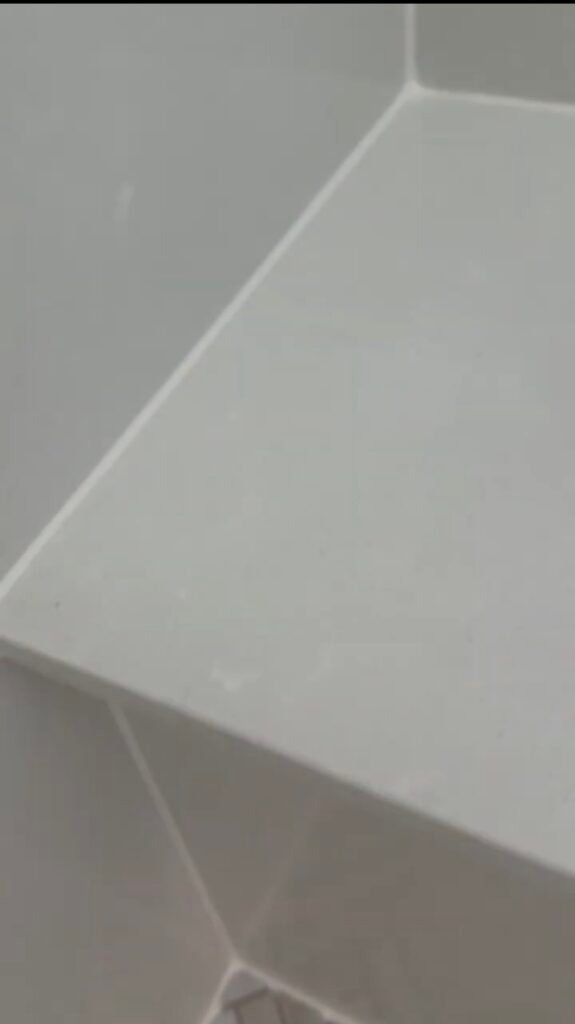
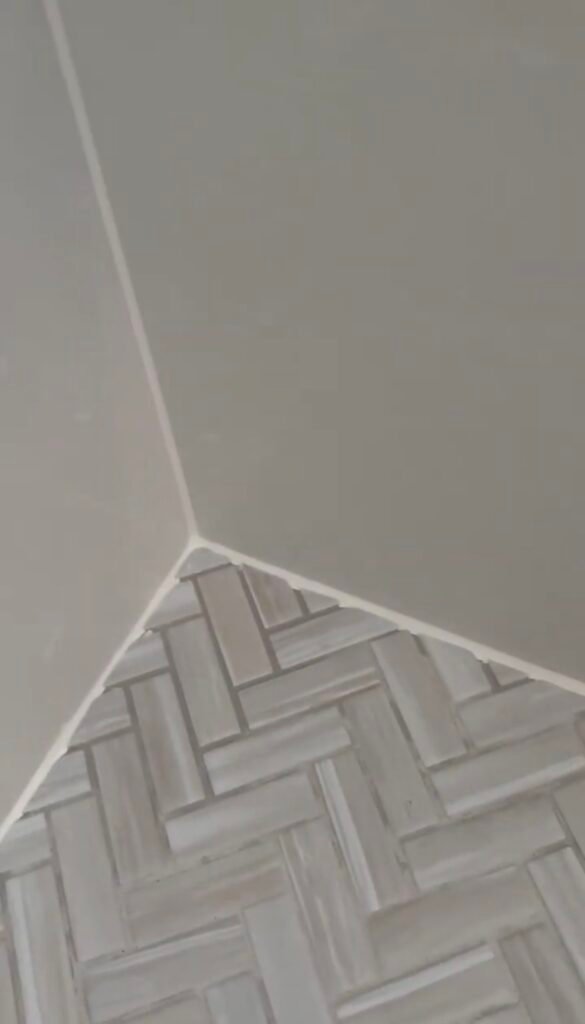
For this Piedrafina shower, we are applying a professional-grade, standard 100% White Silicone.
Unlike cheap acrylic caulks that can be easily wiped up with water, 100% silicone is notoriously difficult to work with. Water will not clean it up; trying to do so creates an absolute nightmare. Getting a full, deep bead that stops water from getting behind the seams—while keeping a perfectly tight, clean, professional line—requires years of practice, specific technique, and immense patience.
The Professional Difference: Silicone vs. Cheap Caulk
| Feature | 100% Professional Silicone | Cheap Acrylic / Latex Caulk |
| Flexibility | High (Like a rubber band). Moves with your home’s natural expansion and contraction without tearing. | Low. Shrinks and cracks in a short period under shifting walls. |
| Waterproofing | 100% Waterproof. Completely secures the surface. Used by professional glass enclosure installers. | Poor. Water breaks it down over time, letting moisture pass through. |
| Application | Highly meticulous. Demands specialized tools and technique. Cannot be cleaned with water. | Easy to apply and cleans up with water, but fails quickly in wet environments. |
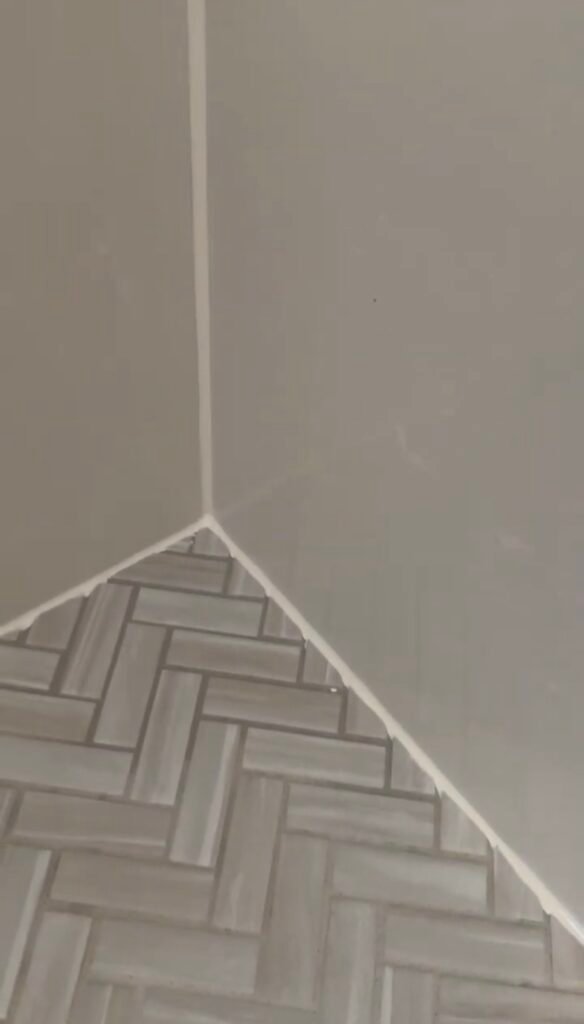
A Note on Maintenance: Even though 100% silicone is the highest quality material available and resists moisture, it is not 100% mold-proof. If soap residue and standing water are allowed to sit on the bead, mold will eventually grow on top of it. Once our job is complete, we take the time to educate our customers on the exact steps needed to maintain their fresh seals for years to come.
The Bottom Line: Don’t let a failed corner seam ruin a beautiful, high-end shower installation. If you notice gaps, peeling, or black spots in your shower corners, let the professionals handle it right the first time.
Step 7: The Final Cure & Client Handover
Once the new 100% white silicone is perfectly in place, the final phase of our restoration process is all about patience.
- The 24-Hour Cure Rule: It is critical to keep the shower completely dry for a minimum of 24 hours. Silicone requires this time to properly cure and bond to the Piedrafina panels. Introducing moisture too early will ruin the seal before it even has a chance to protect your walls.
- A Spotless Finish: We pride ourselves on clean execution. We meticulously clean up our entire work area, leaving your bathroom cleaner than the way we found it.
- The Handover & Maintenance Guide: The final thing we do before leaving is sit down with you to review exactly what has been completed. We will explain our process and leave you with our exclusive maintenance guide. This guide outlines exactly which products to use—and how to use them—so you can keep your newly restored shower looking exactly the way we left it for years to come.
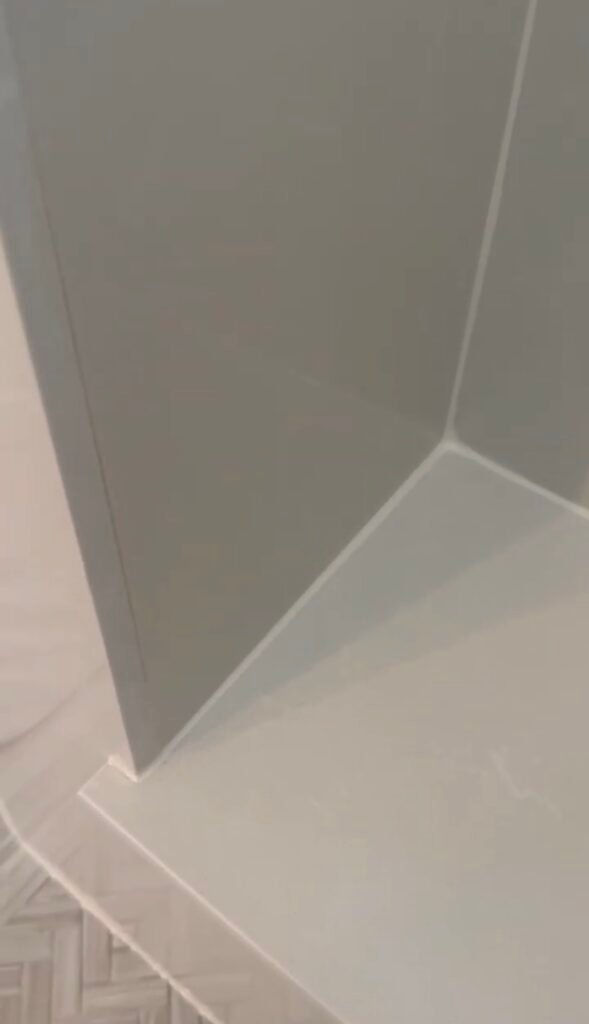
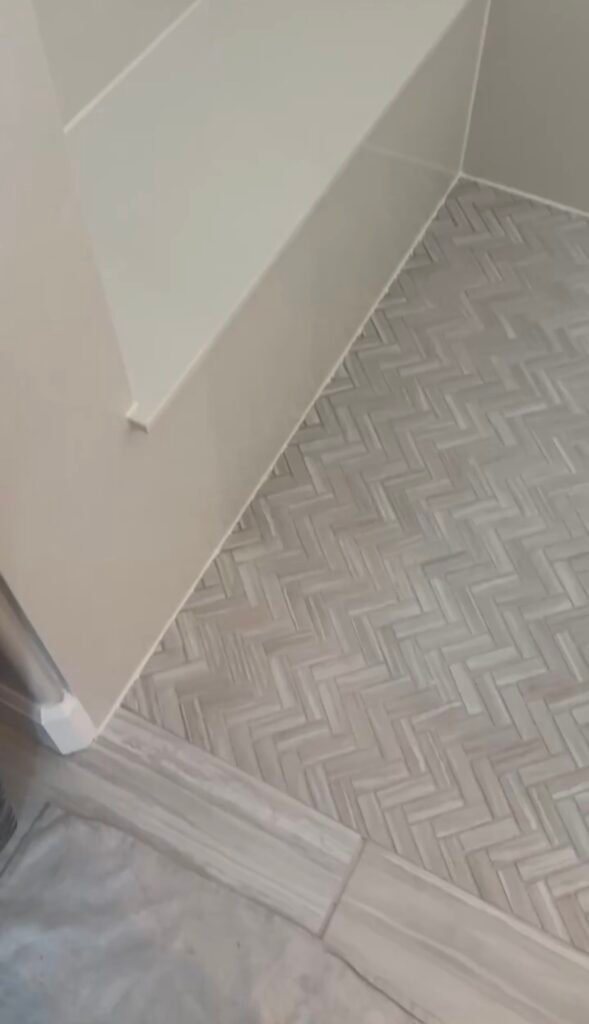
Ready to Protect Your Investment?
Don’t let a tiny void in your silicone lead to hidden structural damage behind your engineered stone panels. If your shower seams are showing signs of age, peeling, or mold, let the professionals handle it right the first time. Contact Grout Repair Pro today to schedule your professional shower restoration and get your hands on our exclusive maintenance guide!
Bonus: Get Our Exclusive Shower Maintenance Guide
Want to ensure your newly restored shower stays pristine for years to come? We don’t just fix your tile, stone, and silicone—we help you protect it. We have compiled our 30+ years of professional field experience into a straightforward, step-by-step maintenance guide that shows you exactly which products to use (and which ones to avoid at all costs) to prevent mold, soap scum, and hard water buildup.
This exclusive guide is provided free to every single customer at the end of our restoration process. However, if you are looking to tackle your own maintenance and want a copy sent straight to your inbox, just drop us a line below!